One of my many hobbies is Pottery, however it is a hobby that I haven’t done for years, simply because where I used to live, my ‘studio’ was in a corner of a very draughty barn, pretty cold, even in summer, and my wheel was a manual treadle type, so I had to pedal frantically with one foot whilst trying to keep my hands still to throw anything. Not easy. Since moving house I have treated myself to an electric wheel and set up my ‘studio’ in my conservatory. Not having done any potting properly for the last 20 years, I am back to being a complete beginner and struggling to even centre the clay before throwing anything, but hey, we all have to start somewhere. I also made a pretty basic mistake a couple of days ago. I managed to throw an 8″ wide flat dish that came out quite well, however I’d forgotten one important thing – how to get a flat dish off the wheelhead when it’s not on a batt. Whoops. I did manage to get it off without completely destroying it, but it is not very flat any more. This got me thinking about batts and how to attach them to the wheel. After a bit of googling the internet, I came up with the following.
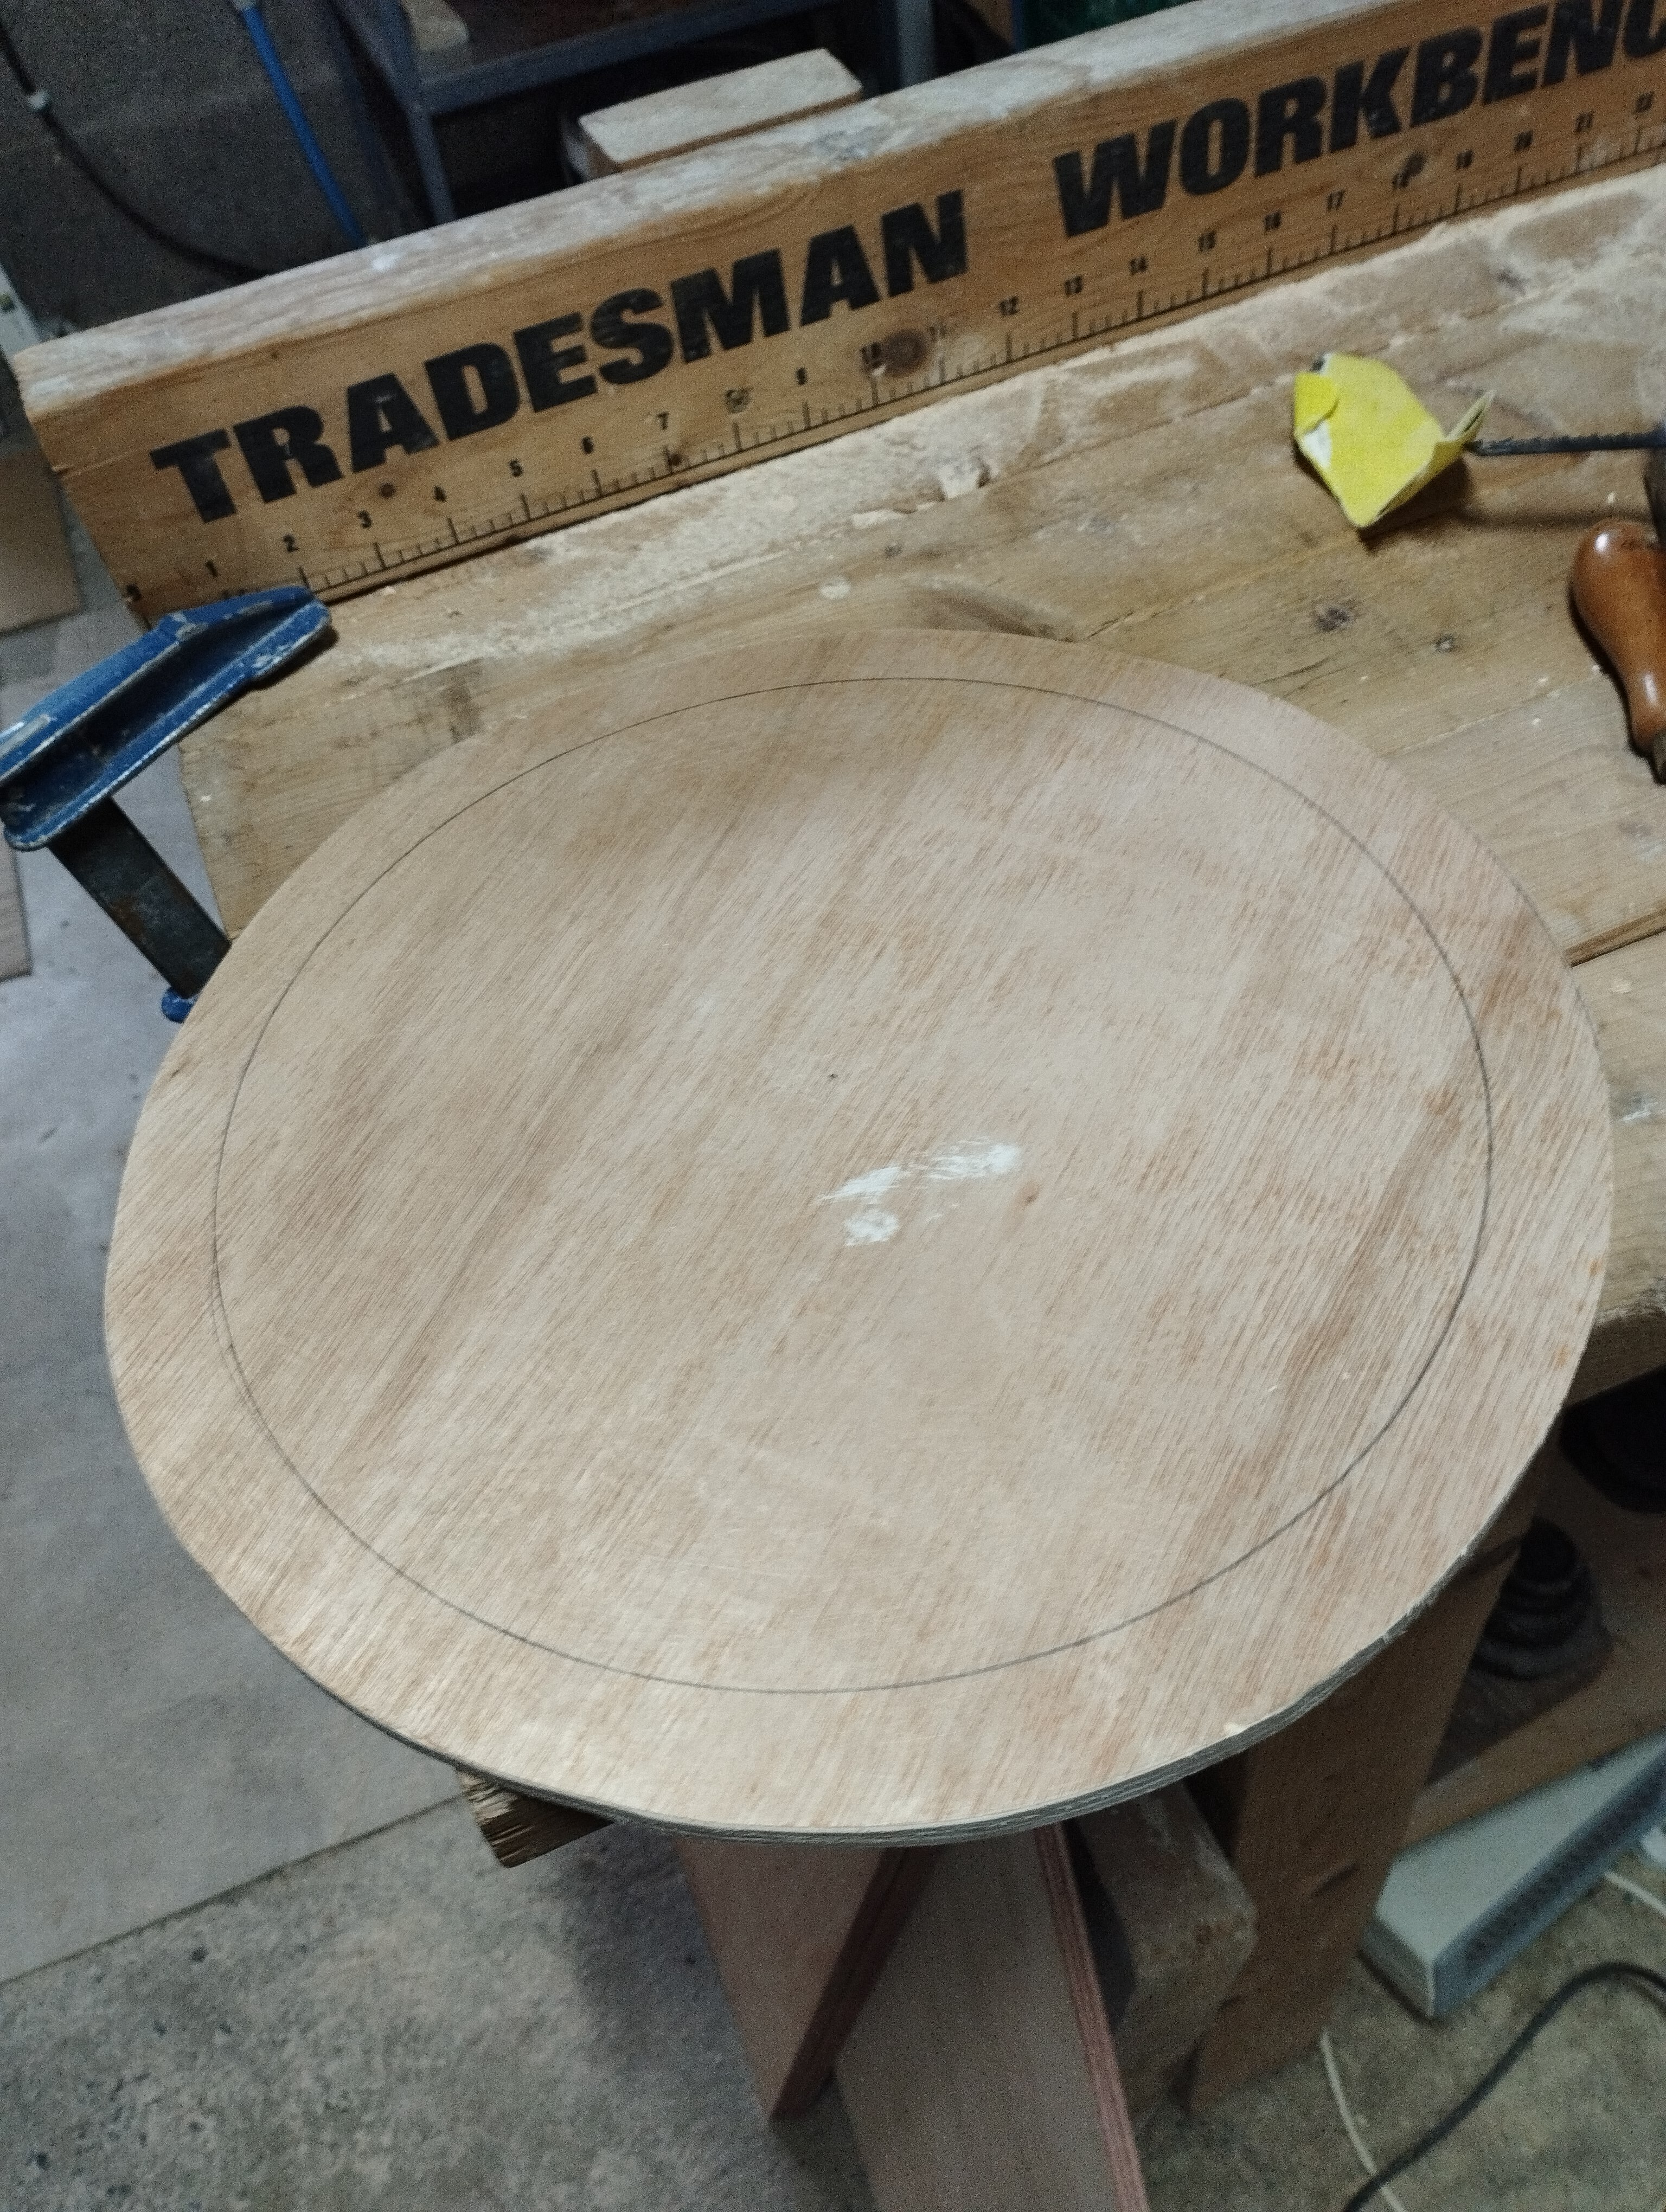
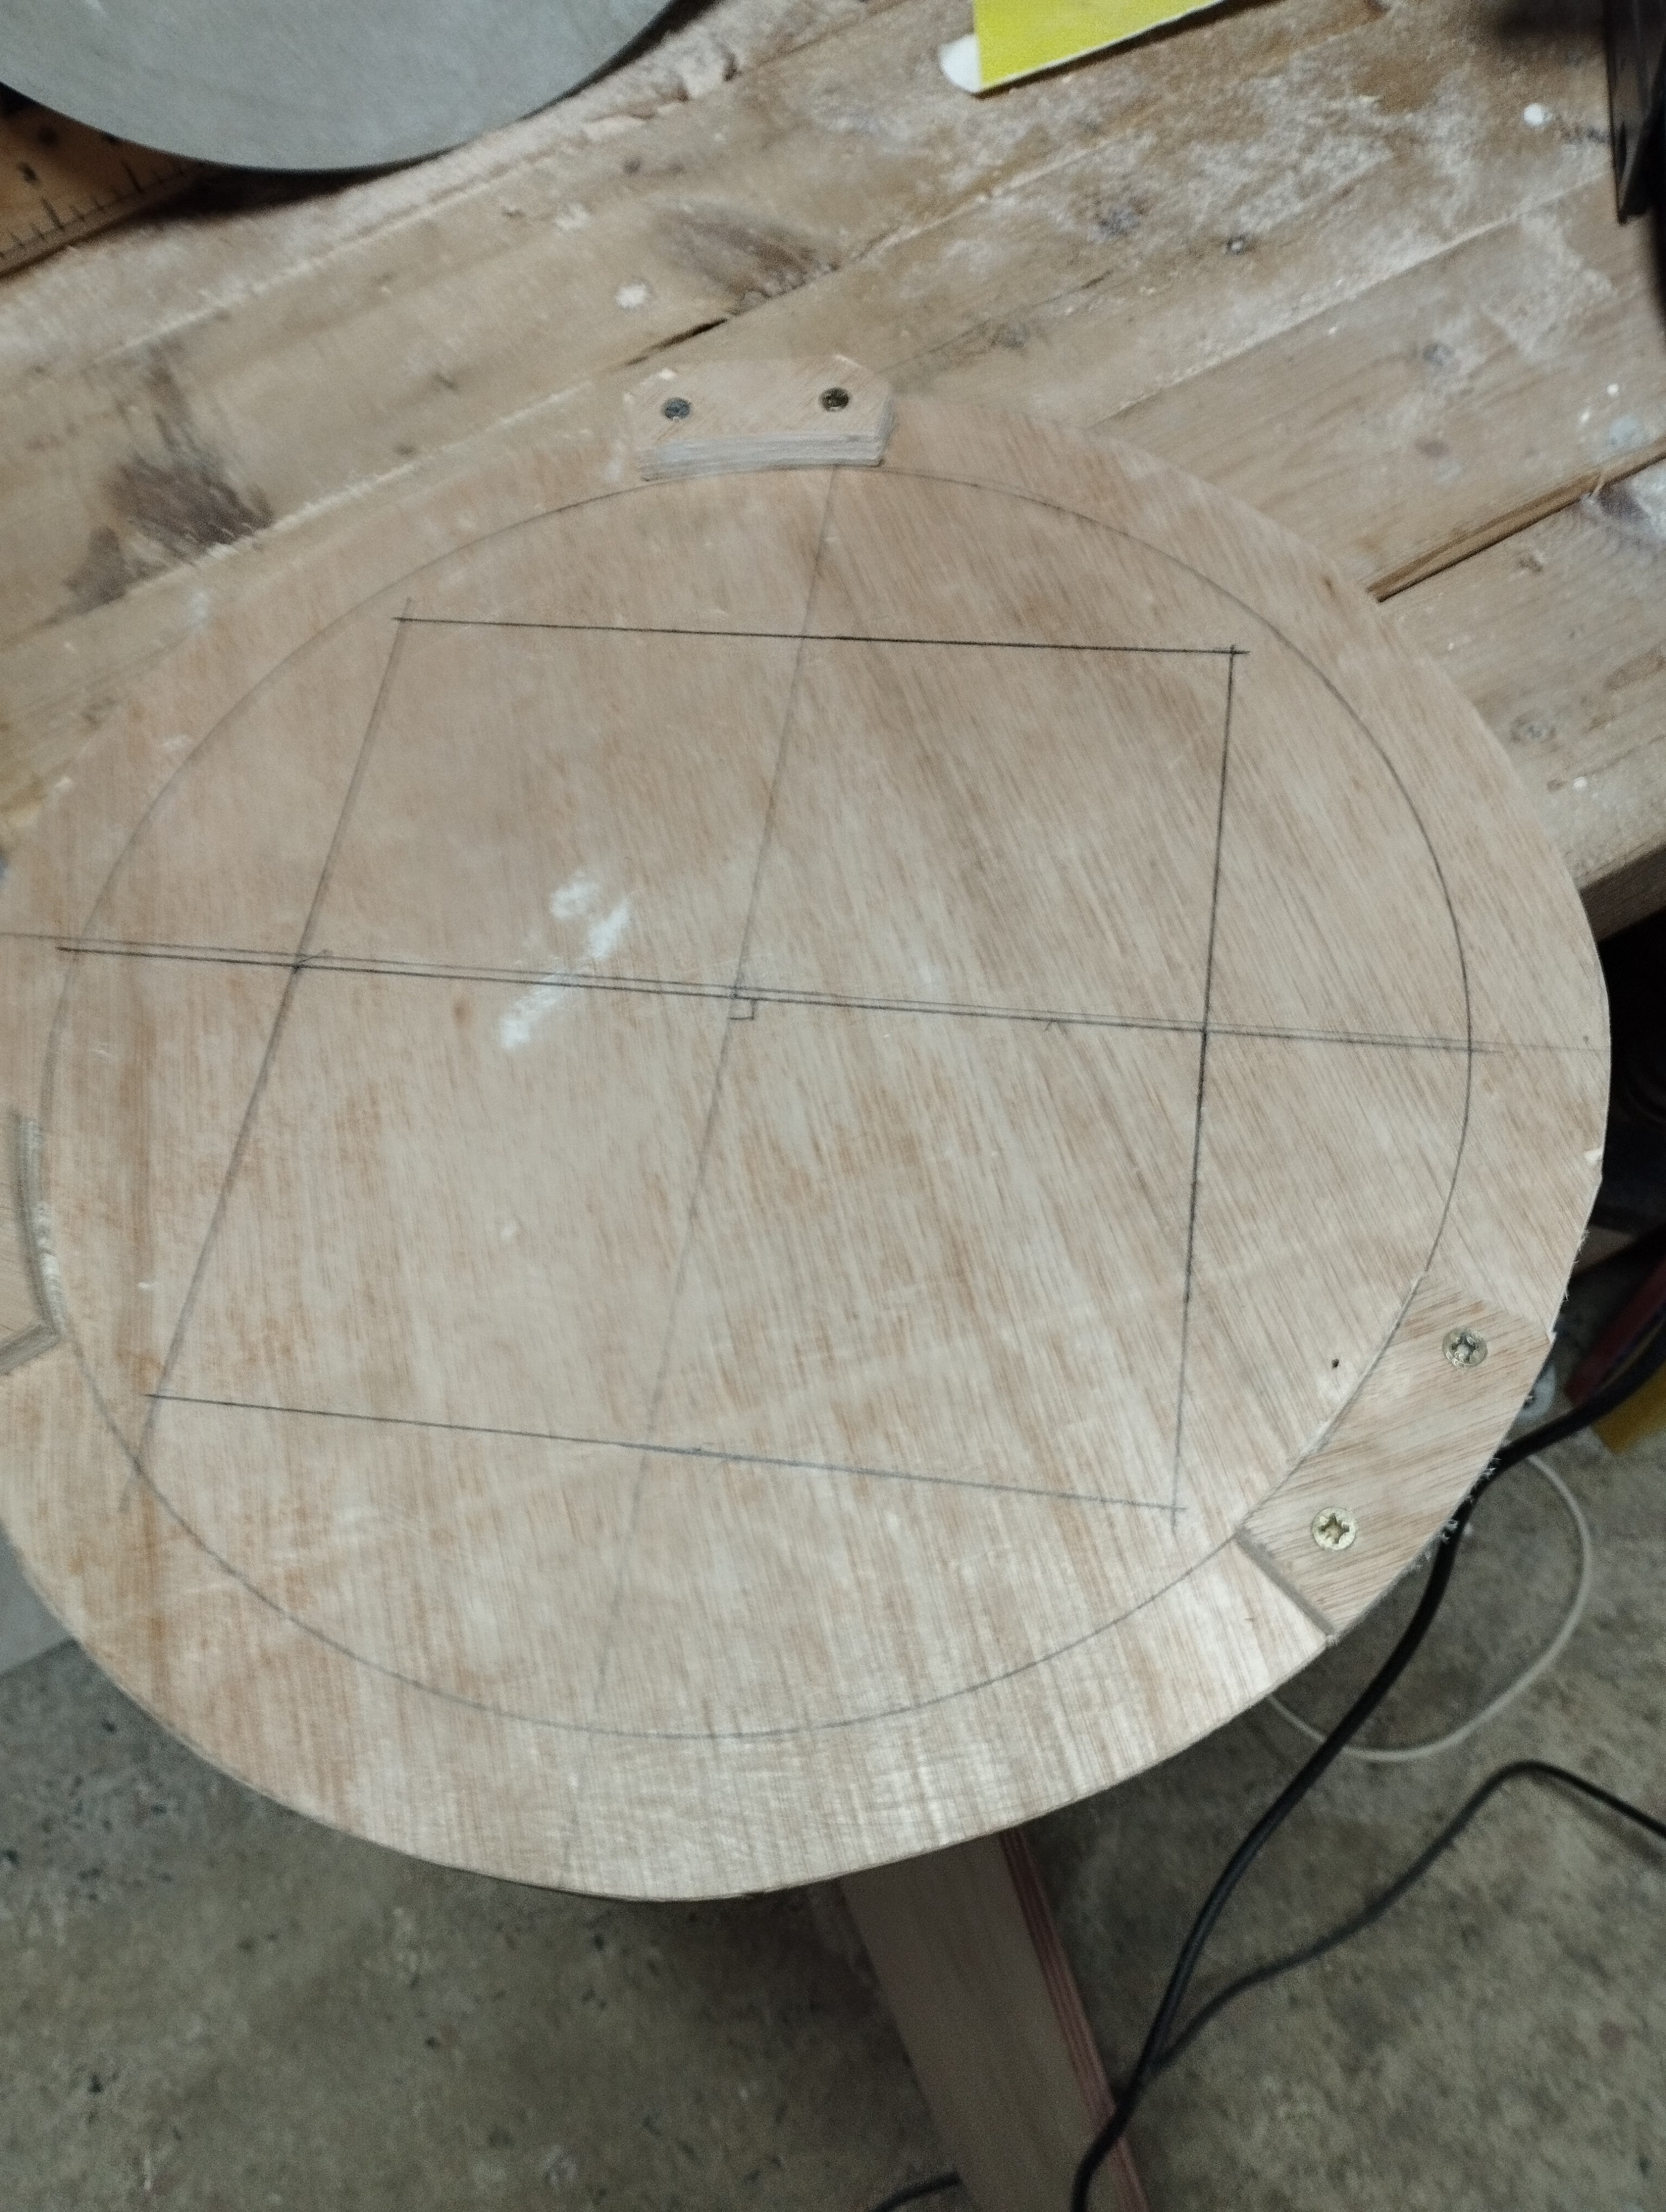
I recently made a new ark for my ducks and used a couple of sheets of 12mm hardwood ply in the process, so I now have various odd shaped pieces left over. My wheelhead is 305mm diameter, without batt pin holes. I cut out a cirlce of ply 360mm diameter and on the back marked out a circle 305mm. (I used a batt I’ve got and marked around that.) I also marked a cross on the back through the centre, to make it easier to measure for the insert later. It would be easier to cut out the insert at this point, but as I wasn’t sure it would work yet, I did it later. I then cut out 3 bits of ply using the 360mm and 305mm batts to get the profiles right, and screwed them on to the back of the 360mm batt, between the marked circle and edge. I then tested the batt on the wheelhead to make sure it didn’t slip, using a piece of that anti-slip matting (for stopping rugs slipping etc). As it seemed to work, I then marked out a 200mm square on the back of the batt using the cross I’d marked earlier. I drilled a small hole at each corner, big enough to take the jigsaw blade and then cut out the square. I then used the square hole to mark out and cut some square batts to fit. You could just cut out 200mm square batts, but as it’s not particularly easy getting an exact square hole using a thin jigsaw blade, my cuts weren’t perfectly straight, so they will only fit in the hole one way. I also cut a corner off the square batts to make them easier to lift out. I sanded down all the cut edges and as it was in plywood, I then painted all the cut edges with some diluted pva glue to hopefully help them last a bit longer. I also drew concentric circles onto the 200mm batts to help with centring. If you want smaller batts as well, you can always cut a smaller square hole in one of the 200mm batts to suit, and have a batt inside a batt inside a batt, russian doll style. It might also be a good idea to bevel the edges slightly to save catching fingers on the edges when throwing, but when I tried my new batt system this morning, it worked fine. As the batt is 12mm thick, it means that the wheelhead is now 12mm higher up the splash pan than before and I’m likely to be even messier than before, so you might prefer to use a thinner plywood, but then the thinner it is the more likely it is to warp.